Findus Crispy Pancakes: "The Black Hole" [LP112] (1979)
This was one of the first promotions to be covered by SPLAT, many centuries ago, & yet we still haven't completed our coverage. There were five Scenes on the backs of the promotional packets, & five transfer sheets given away inside the packets, although the sheets don't match the Scenes, as you can see from the evidence below as to which transfers occur applied to which Scene by their original owners.
Packet Scenes 1 & 4 are unused, but we can only show you used versions of Scenes 2, 3 & 5; then while transfer sheets 2, 3 & 5 are great, sheets 1 & 4 are sorely lacking in the quality department — an amusing inversion!
In the interests of research, I watched the film last night & I can say without fear of contradiction that this promotion takes a few liberties with the characters & set design; these sorts of glitches are only to be expected.
The Packets
Roland Kirkby posted his photos of his own packet featuring Scene 1 in a Facebook Group, & everyone messaged me all at once to let me know about it. I contacted him, & he very kindly sent me his original photos, which are edited here:

Photo by Roland Kirkby
"Collect all 5 exciting Scenes from other Findus Crispy Pancakes. 1: Antechamber — 2: Central Control Room — 3: Close to the Edge — 4: Running Battle — 5: Escape"
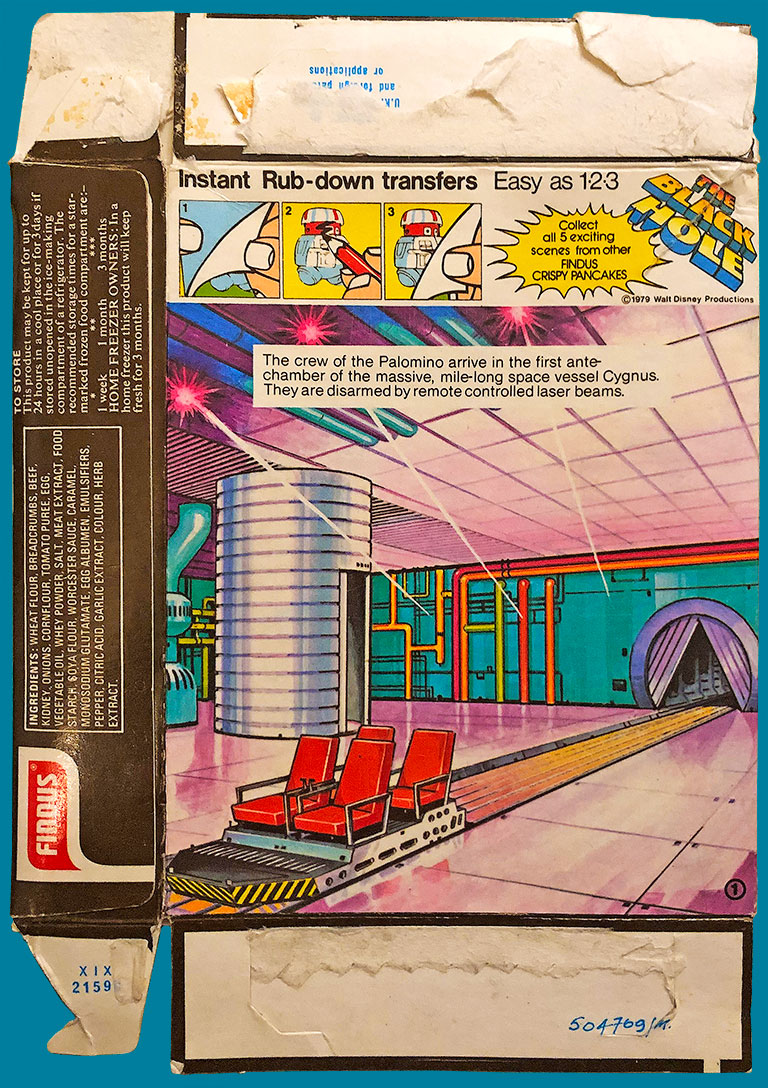
Scene 1: Antechamber — photo by Roland Kirkby
Most of the other packet Scenes are used, & were scanned by Craig Spivey (apart from Scene 4; see below).

Scene 2: Central Control Room — scan by Craig Spivey

Scene 3: Close to the Edge — scan by Craig Spivey
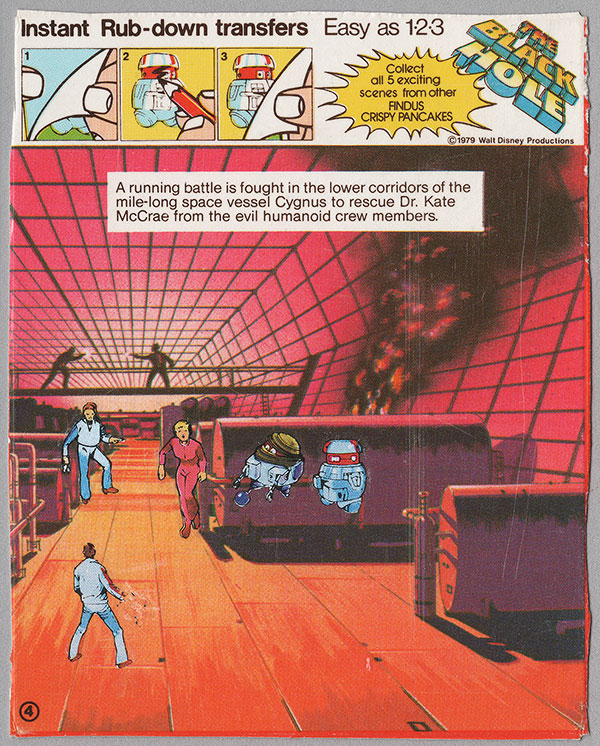
Because I obtained the above packet back featuring Scene 4 myself, I was able to perform my patented ILLEGAL SURGERY on it in order to show you the original cleaned-up version:
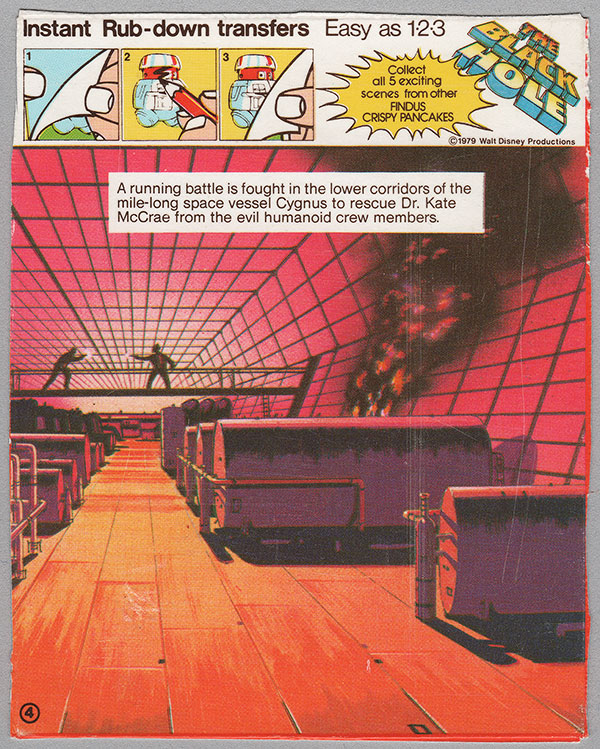
Scene 4: Running Battle
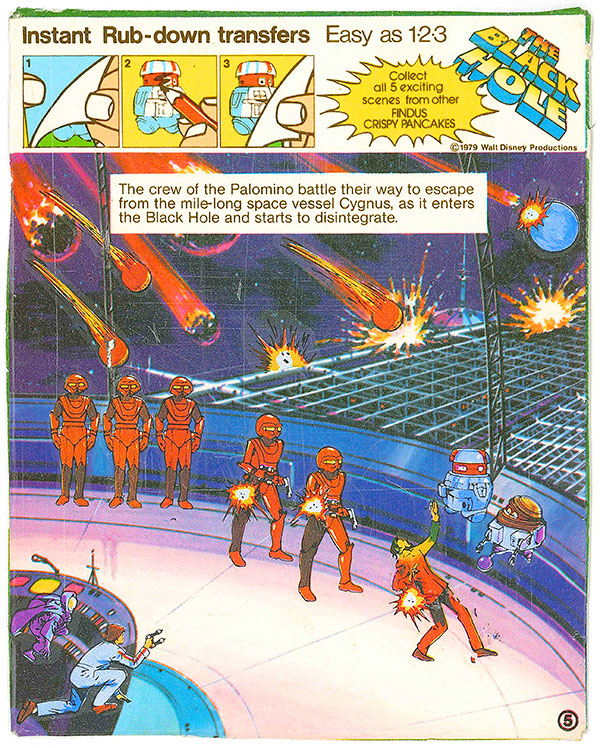
Scene 5: Escape — scan by Craig Spivey
Scenes 2 & 5 did turn up unused a few years ago being auctioned by Paul Hart, but somehow we failed to spot them in time:
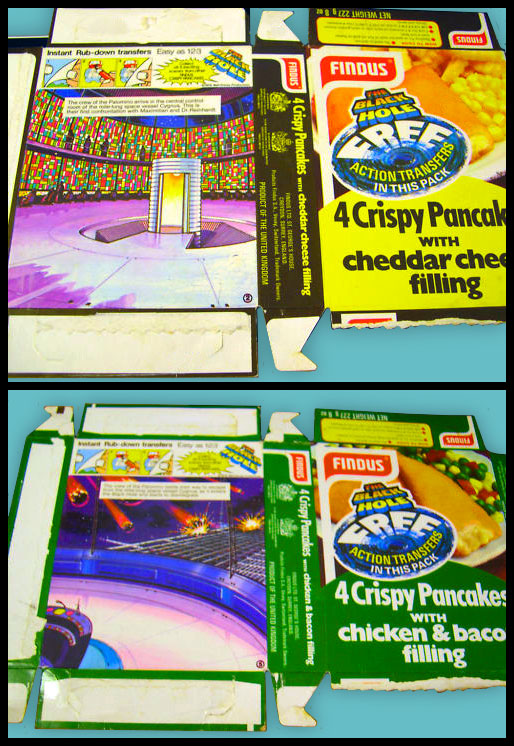
Photos courtesy of Paul Hart
The Transfer Sheets
We've only had proper access to three of the five sheets, so please excuse the poor quality of sheets 1 & 4. We'll show them out of order…

Sheet 2 — & very expensive, I might add
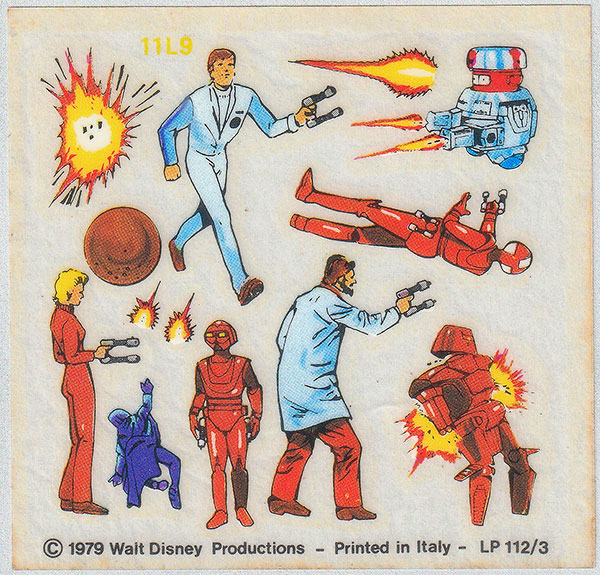
Sheet 3 — scan by Mark Howard
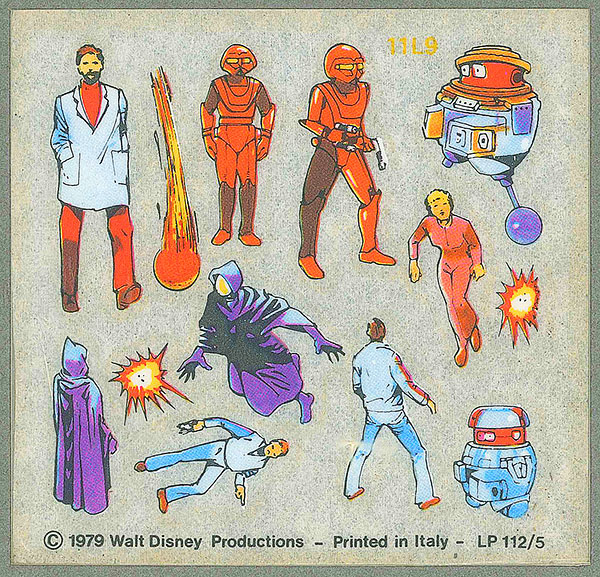
Sheet 5 — scan by Craig Spivey
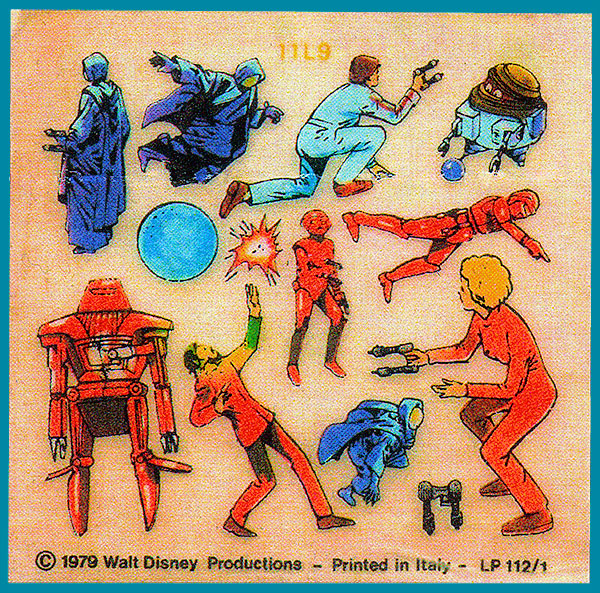
Sheet 1 — photocopy by Wayne Ratcliffe
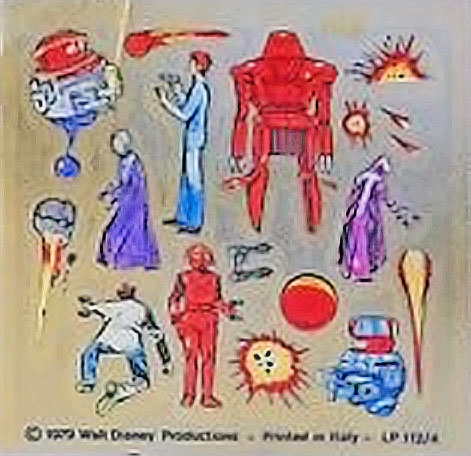
Sheet 4 — photo by Paul Hart (enlargement — & at original size!)
We have a good success rate at finding stuff once the lack has been noted online, so hopefully someone will come up with upgrades for the three used packet backs & two poor quality sheets very soon!
If this isn't enough Black Hole for you, we also have a page on the Black Hole retail sets — recently updated.
• Next "Food Promotions" Page: Albator offerte par Braisor →
← Free Gift Transfers in Food Promotions