We have three features to show you on this page:
- How to Apply a Vintage 1970s "Charlie's Angels" Iron-On T-Shirt Transfer
- Waterslide Heat Transfers
- Letraset Iron-Ons
How to Apply a Vintage 1970s "Charlie's Angels" Iron-On T-Shirt Transfer
STEP ONE: the Warm-Up.
![]()
Applying any transfer is a highly-skilled task, requiring dexterity & mental agility. Physical & mental warm-up exercises are recommended for the ironers as well as the iron.
Preheat the iron to its highest temperature for at least ten minutes. The iron must be as hot as possible, but do not use steam.
STEP TWO: Place a Sheet of Grease-proof Paper Inside Garment
![]()
Do not use an ironing board or a naked surface for ironing. Instead, place a pillowcase (or a similar piece of flat cloth) on a flat surface, and iron it completely smooth so that there are no ridges or wrinkles.
The t-shirt should also be ironed before use, firstly to ensure smoothness & secondly to drive off excess moisture; everything must be moisture-free for the transfer to work properly. Then insert a sheet of grease-proof paper into the t-shirt, & smooth over with the iron once again.
If your garment or fabric is not a t-shirt, these instructions still apply with the one difference that there may be no 'inside' for the grease-proof paper to fit into; but of course, placing it underneath the layer of fabric to which you will be applying the transfer is all that is required.
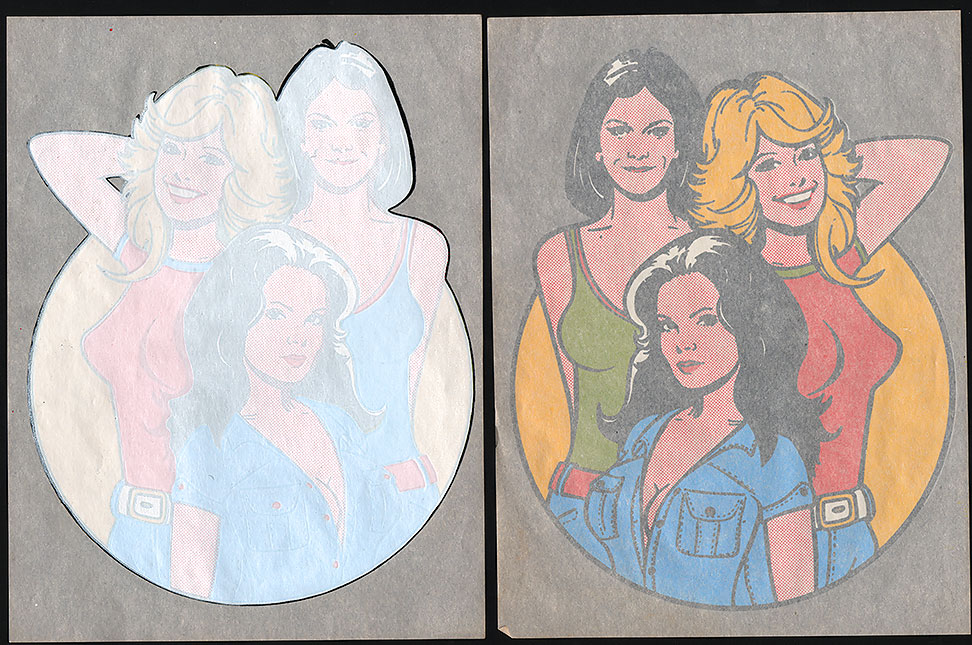
STEP THREE: Place Transfer Face Down on Garment
![]()
Let the garment and the pillowcase cool down before placing the transfer, face down, in position.
STEP FOUR: Grease-proof Paper Over Transfer
![]()
Another sheet of grease-proof paper on top will prevent unfortunate accidents with the transfer, & helps to keep the transfer in position. Obviously, you do not want the transfer moving even slightly during application.
For this reason, the ironing takes place in two stages.
In the first stage, do not move the iron from side to side at all! Instead, choose a spot on the outside edge to start with, & press the iron firmly straight down onto the transfer for twenty seconds; then lift it straight up. Repeat this 'blotting' procedure around the edge, & then in the centre, making sure that every spot on the transfer is covered.
For stage two, just use the normal ironing technique with a circular motion & light pressure to evenly heat the whole transfer for another minute or two.
STEP FIVE: Rub with Soft Cloth
![]()
Gently rub the transfer with a soft, clean cloth for another minute or so.
You can see a white patch to the left of the yellow circle; this made us VERY nervous!
Harrie Kd: You can almost feel the tension.
Tom Vinelott: Technically, it's compression rather than tension…
STEP SIX: Peel Back Carefully
![]()
If any of the transfer has not been properly applied, carefully replace the paper & iron again.
STEP SEVEN: Finished!
![]()
To keep your vintage transfer in perfect condition, place it in the freezer & never wear it.
Well, okay… you can wear it — but you'll have to stay in the freezer.
STEP EIGHT: In Use. — with Charley's Angel (allegedly)
![]()
Gemma Gompertz: It came out really well and I'm super pleased that I chose to bring a relatively new t-shirt so that it will take more wear before it shrinks/fades etc.
Tom Vinelott: You… you're not keeping it in the freezer?
Waterslide Heat Transfers
There are other types of transfers which require heat in their application besides iron-ons. Very briefly, here is one type; a waterslide transfer that works on textured surfaces if it gets hot enough. The lower set of instructions are educational…

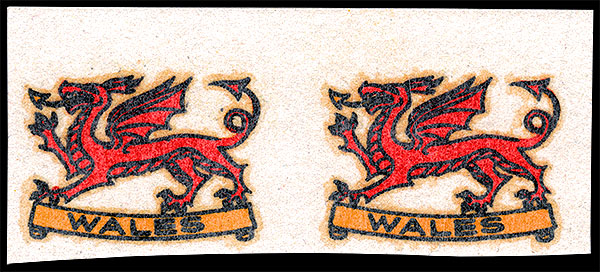

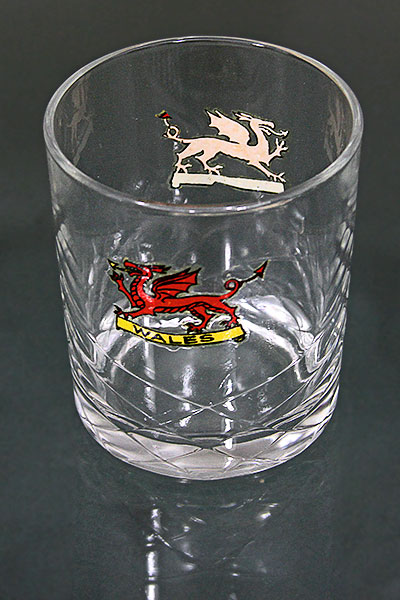
Above: sliding the tissue away from under the transfer. Note that this design of transfer has four layers, rather than the usual three; the "Duplex Backing Paper" acts as a stiffener to prevent curling, & this precaution is fairly unusual for a waterslide transfer. Below: a pair of these transfers applied to a drinking glass.
Letraset Iron-Ons
P.S.: here are a couple of iron-on transfers produced by Letraset — just for the record. There are plenty more!
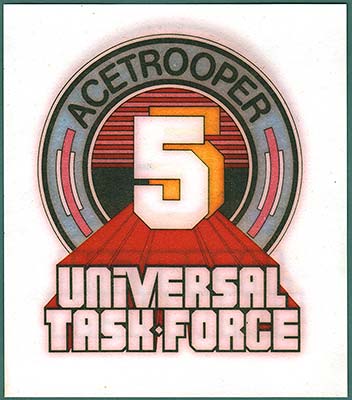
From the "Universal Task Force" range. One of these transfers was provided in each pack (shown here reversed for legibility).
From the Brown & Polson Quick-Set Blancmange promotion of seven different small transfers in packets (as shown), plus a larger mailaway transfer.
Here are the links to those "What are Transfers?" article pages again in full:
- "What are Transfers?" (Main Page) ↑
- Temporary Tattoos, including "How to Apply a Vintage 1960s Temporary Tattoo" →
- How to Apply a Waterslide Model Kit Transfer →
- Waterslide Transfers Applied to Drinking Glasses; plus Golly Transfers →
- The Letraset Type Lettering System →
- How to Apply Vintage 1959 Letraset Waterslide Lettering →
- Letraset's dry rub-down "Instant Lettering" →
- Heat Transfers, including "How to Apply a Vintage 1970s Iron-On Transfer" (this page; see above ↑)
- How to Apply Letraset Dry Rub-Down Transfers →
- How Dry Rub-Down Transfers Work →
- Topps Rub-Offs, Hasbro Rub-Ons, & Trans-Action →
- Some Lovely Décalcomanies →
- How to Apply a Sticker (& other Sticker treats) →
- Stick'N'Lift →